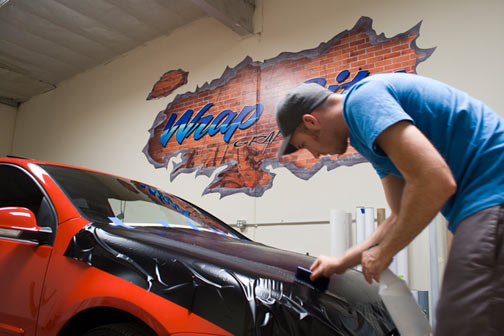
Graphics Installation Instructions
Tools Needed
- Exacto knife / razor blade
- Squeegy
- Tape measure
- Masking Tape (3M or other good quality brand)
Step 1:
Thoroughly clean the surface of the vehicle. Make sure to clean edges and crevises well.
Step 2:
Position and tape vinyl into place. Measure graphic to make sure it is straight. Stand back and make sure everything looks good.
Step 3:
Create a tape hinge by placing a strip of tape vertically in the center of the graphic
Step 4:
Separate the backing paper from one half of the graphic and cut away backing paper with your knife. (do not let the sticky side of the vinyl touch anything at this point)
Step 5:
Spray the sticky side of the decal and the section of the car where the decal will be placed. Try not to spray the backing paper. If it gets wet it can stick to the backside of the vinyl.
Step 6:
Lay the decal down onto the vehicle and begin to squeegee vertically from the center and work your way towards the edge of the decal.
Step 7:
Remove your tape hinge. Separate the backing paper from the decal.
Step 8:
Spray the back sticky side of the decal and the surface of the vehicle.
Step 9:
Lay the decal down on the vehicle and begin to squeegee vertically from the center to the edge of the decal.
Step 10:
Spray the face of the decal and squeegue the entire decal one more time. Let sit for 5 minutes.
Step 11:
Carefully peel off the transfer tape, keeping it flat with the surface so you don’t peel up the decal
Step 12:
Trim extra overlap along edges with razor blade if needed. Bubbles can be popped with the tip of your razor blade or a thin needle.
Step 13:
Go over decal with heat gun or a hair dryer to speed up the drying process. Make sure to tuck all edges down.

